Creating custom conda environments and IPython compute kernels for use in Jupyter notebooks within Workbench
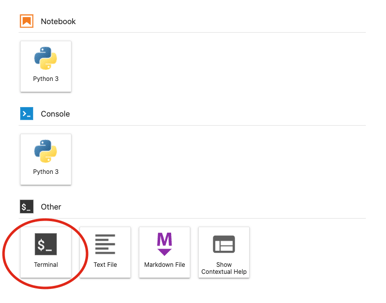
These commands must be run from a Terminal window.
 First, create a space for conda environments:
# make environments directory
mkdir /home/jovyan/envs

# initialize bash
conda init bash

# restart shell
exec $SHELL
Then, for each environment you want to add:
# in this case, we'll install Python 3.6
conda create -p /home/jovyan/envs/py3.6 python=3.6

# use this new environment
conda activate /home/jovyan/envs/py3.6

# enable kernel under the name py3.6
pip install --user ipykernel
python -m ipykernel install --user --name=py3.6

# leave environment
conda deactivate
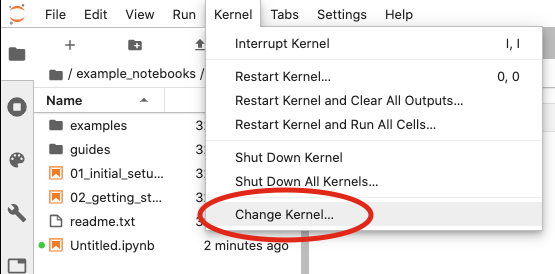
Now, your new environment will show up in the list of Jupyter kernels:
If you're working in the Descartes Labs Workbench, you may be better off creating your custom environment starting with a clone of the base environment. In this case, many of the necessary libraries will already be installed. Compared to the above code examples, the only line that will differ is the creation line, which should instead be run as:
# create your environment as a clone of the base environment
conda create -p /home/jovyan/envs/my_env --clone /opt/conda
If "conda activate" does not work as expected, try "source activate":
source activate /home/jovyan/envs/my_env